
How to Draw Optical Illusions: 4 Easy Step-by-Step Ideas
You do not need to be a great artist to draw an optical illusion. With a pencil, a ruler and a black marker, you can make lines bend, triangles appear out of nowhere and gray spots flicker. Here are four easy illusions to draw, with pictures for each step and the science behind every trick.
What you need
All four drawings below use simple supplies you probably have at home or in a classroom:
- White paper (printer paper is fine)
- A pencil and an eraser
- A ruler
- A black marker, plus two colored markers for the first drawing
- Something round to trace, like a cup or a jar lid, or a compass
Draw your guide lines lightly in pencil so you can erase them at the end. Most of the magic in these illusions comes from being neat, so take your time with the ruler.
1. The 3D bump (easiest)
This is the classic "3D lines" drawing. Straight lines that suddenly curve make a flat page look like it has a ball pushing up from underneath.
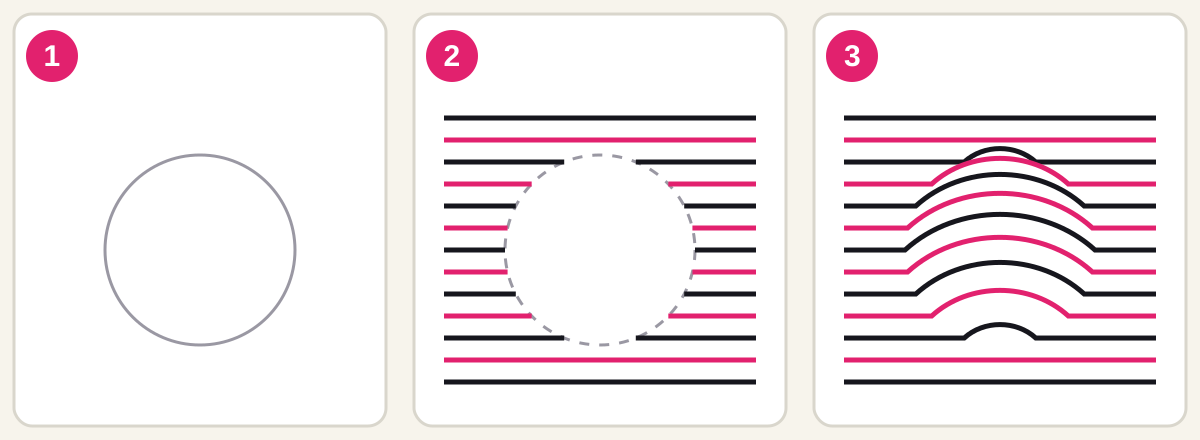
Step 1. Trace a circle lightly in pencil in the middle of your paper, using a cup or lid.
Step 2. With a ruler, draw straight lines across the page from left to right, about a finger-width apart. When a line reaches the circle, stop. Start again on the other side of the circle and carry on to the edge. Lines above or below the circle go straight across.
Step 3. Inside the circle, join the two ends of each line with a smooth curve that bulges upward, like a little hill. Make the curves taller near the middle of the circle and flatter near the top and bottom. Erase the pencil circle. Color every other line, and the bump pops out even more.
Why it works: Your brain is used to lines on a surface showing its shape, like the stripes on a shirt bending over a person's shoulder. When the lines curve, your brain assumes the surface curves too, so it sees a bump instead of a flat page. Try the same idea by tracing your hand instead of a circle.
2. The floating triangle
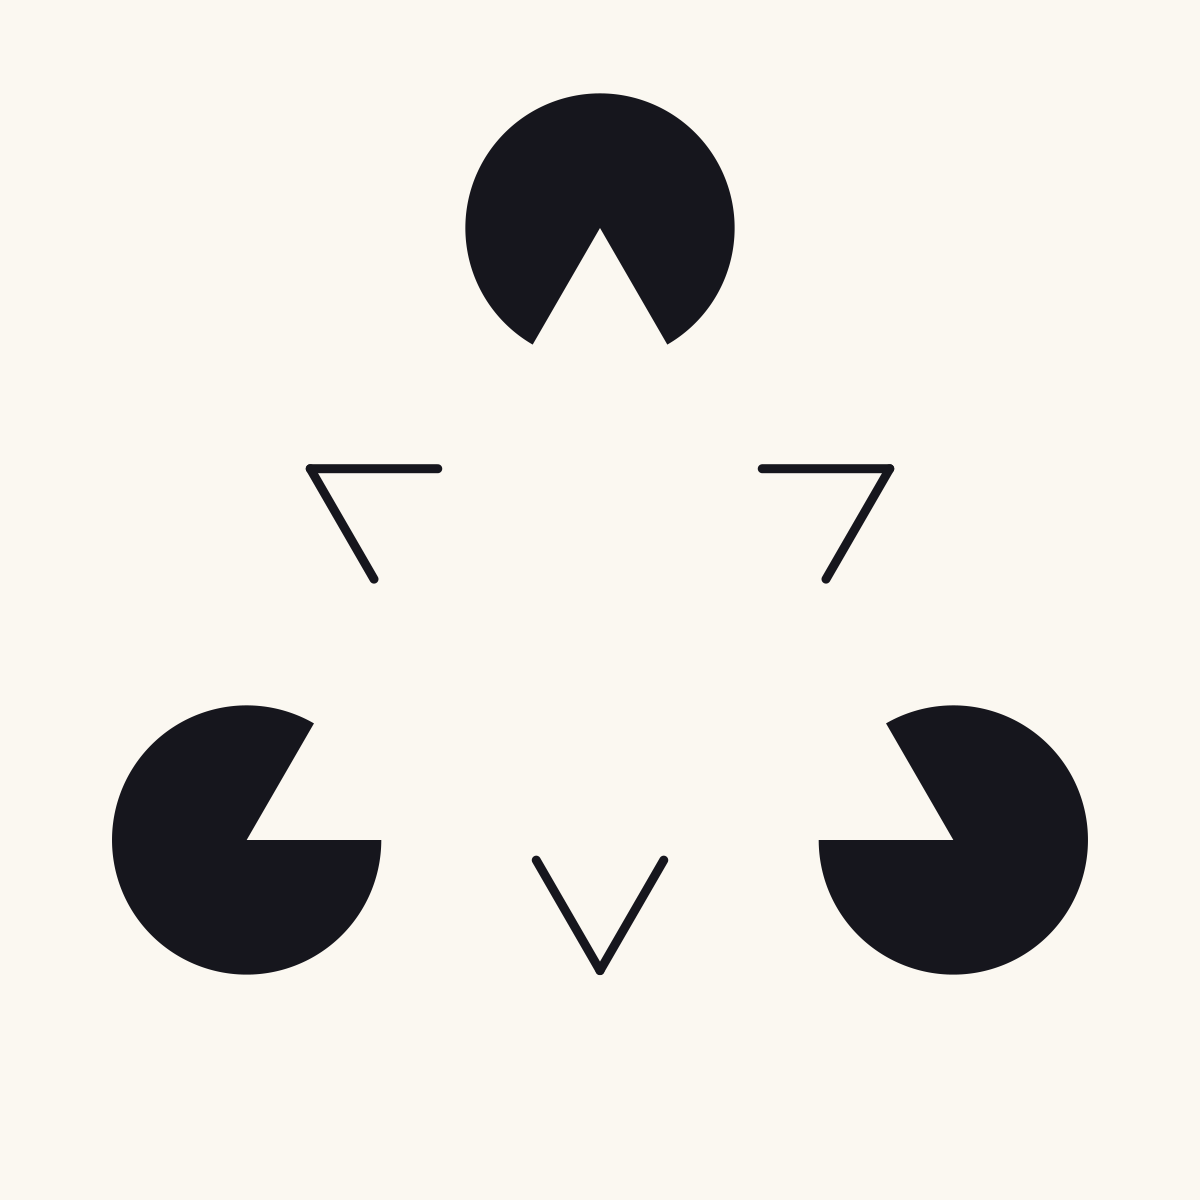
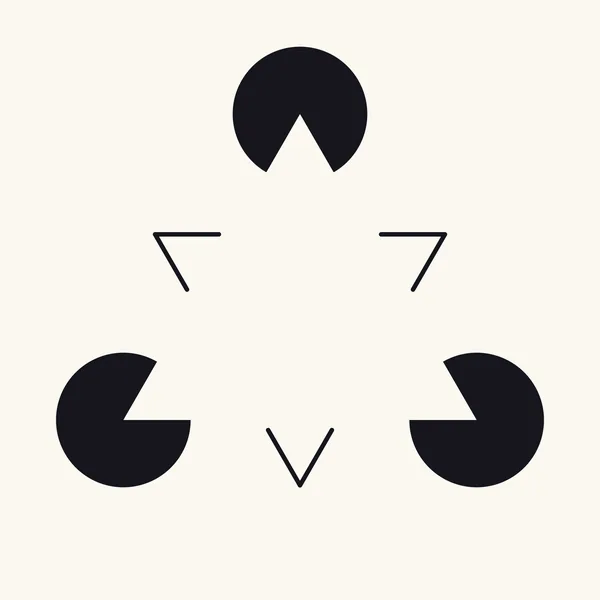
This is a homemade Kanizsa triangle. You will draw three black circles, and a white triangle that was never drawn will appear on top of them.
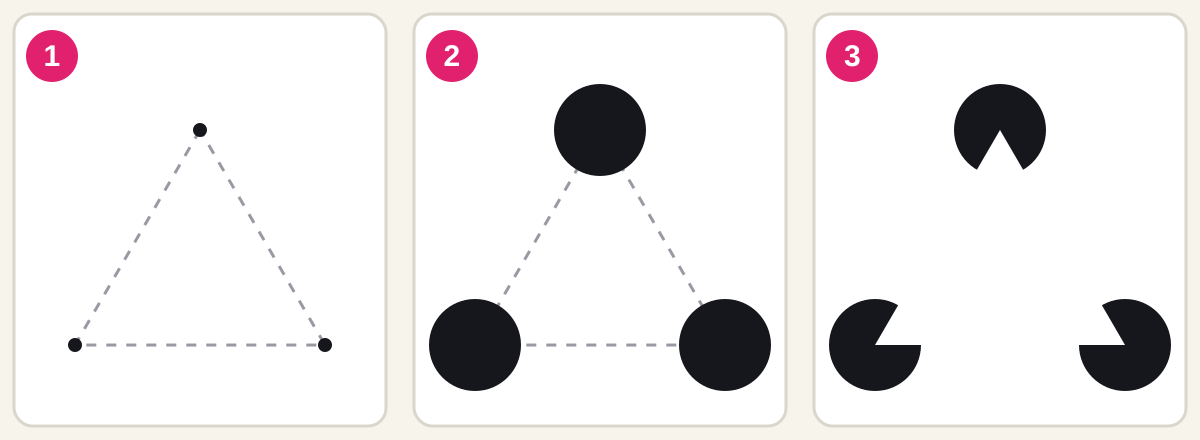
Step 1. Lightly draw a large triangle in pencil with the ruler, with all three sides the same length. Put a dot on each corner.
Step 2. Draw a circle around each corner dot, all the same size. A coin or a bottle cap makes a good stencil.
Step 3. Color each circle black with the marker, except the wedge that sits inside the triangle. Leave that slice white, keeping its two straight edges exactly on your pencil lines. Then erase all the pencil lines, including the triangle.
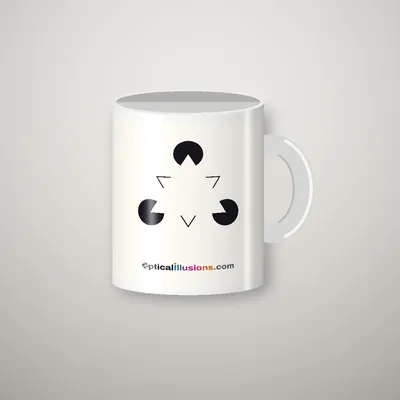
Why it works: Your brain looks for the simplest explanation of what it sees. Three circles that all have a neat bite out of them in just the right places are best explained by a white triangle lying on top. So your brain draws that triangle in, complete with edges, and many people even see it as brighter than the paper around it. The edges are called illusory contours, and you can see more of them in the Ehrenstein illusion.
3. The café wall
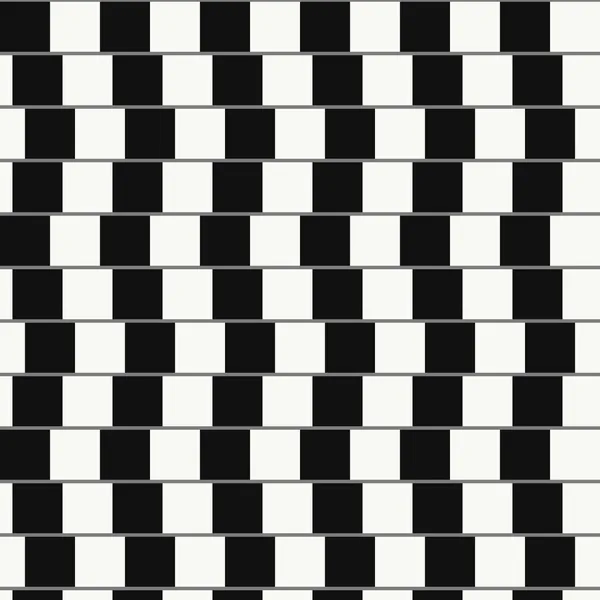
The café wall illusion makes perfectly straight rows look like slanted wedges. It takes a little more care, but the result is impressive.
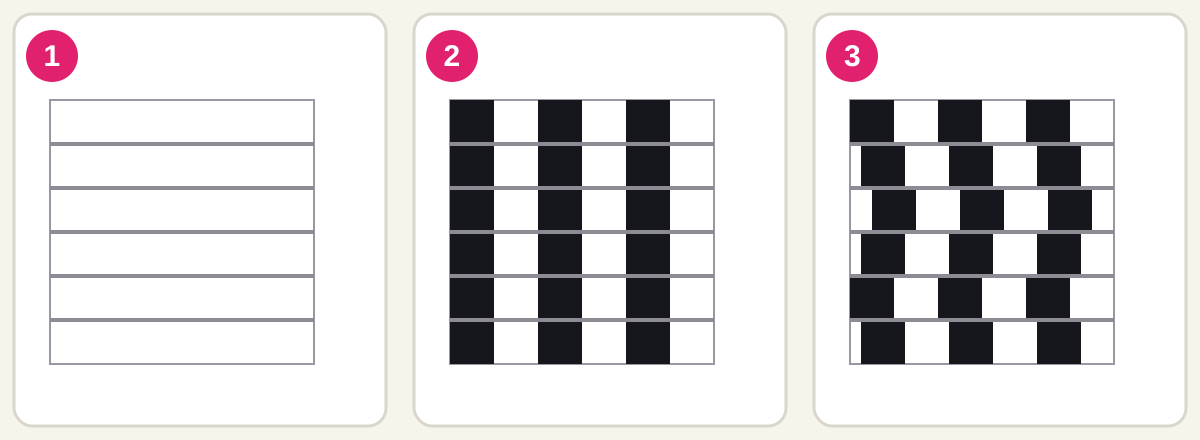
Step 1. Draw a rectangle and divide it into six rows of the same height with the ruler. Go over these row lines with a thin gray line (a gray marker or a sharp pencil pressed firmly).
Step 2. In the first row, mark squares that are exactly as wide as the row is tall. Fill every other square in black.
Step 3. For the next row, shift the pattern a quarter of a square to the right. Shift row three by half a square, row four by a quarter again, and then start over with row five lined up like row one. Fill every other square in black, just like before. Keep the gray lines between the rows visible.
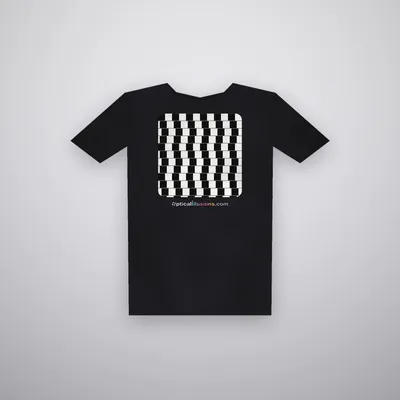
Why it works: The illusion depends on the thin gray lines between the rows, which are halfway between black and white. Scientists think that where a black tile and a white tile meet across a gray line, cells in your visual system mix up the edges in a way that makes the line seem to tilt a little. Lots of tiny tilts add up, so whole rows look like wedges. If you make the lines thick or pure black, the effect gets much weaker, which makes a nice experiment.
4. The Hermann grid
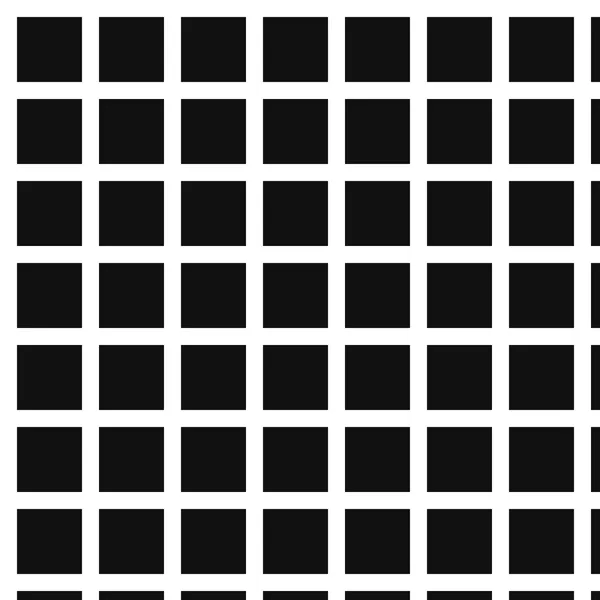
The Hermann grid is the simplest of all to draw, and the gray ghost spots appear like magic.
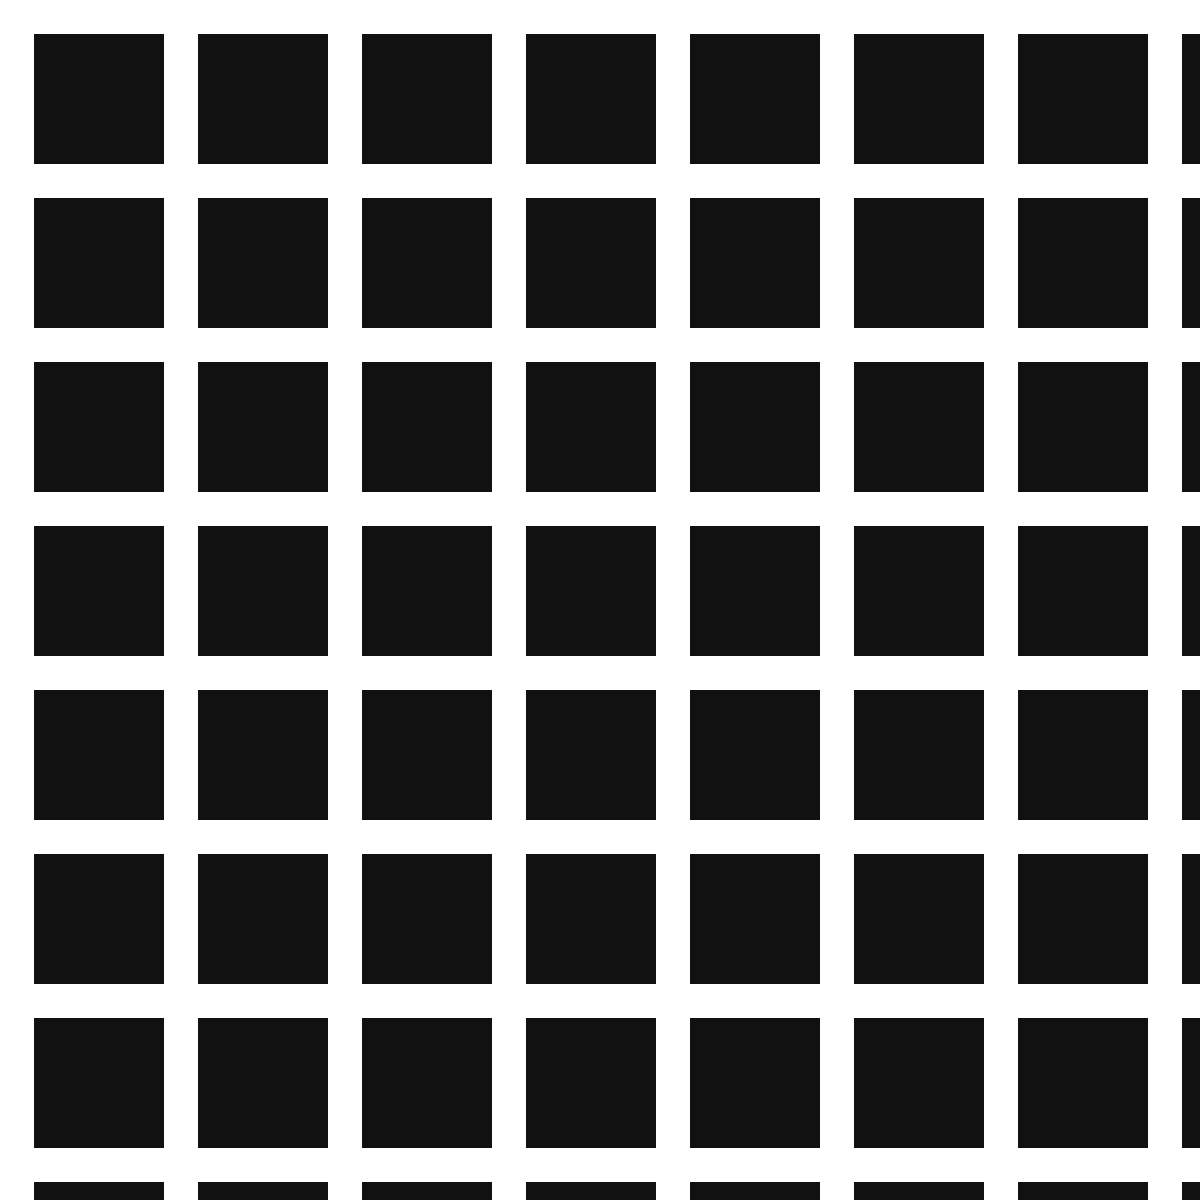
Step 1. With the ruler, draw a grid of squares in pencil, five across and five down, about the size of a postage stamp each, with a gap between every square that is about a third as wide as the squares.
Step 2. Color all the squares solid black with the marker, keeping the white gaps clean and straight.
Step 3. Erase any pencil marks in the gaps and hold the paper at arm's length. Gray spots should appear where the white lines cross. Look straight at one crossing and its spot disappears.
Why it works: Scientists long explained the spots with cells that compare a spot with its surroundings: a white crossing has more white around it than a white line does, so it looks a little dimmer. Newer research shows that bending the white lines into gentle waves makes the spots vanish, so the full explanation is still being studied. That makes it a fun one to test yourself.
Tips for perfect illusions
- Be neat. Wobbly lines and uneven squares weaken most illusions. Use the ruler every time.
- Use strong contrast. Black marker on white paper works best.
- Test before you finish. Hold your drawing at arm's length or show a friend before you add color.
- Experiment. Change one thing at a time, like the line thickness in the café wall, and see if the illusion gets stronger or weaker.
What to draw next
Once you have these four down, try drawing an impossible object like the devil's fork, or design your own op art pattern. If you want to turn your drawings into a school project, see our optical illusion science fair projects. Teachers can find printable illusion worksheets on our For Teachers page and free sheets for younger kids on optical illusions for kids. And if you would rather wear one than draw one, our designs come on tees and posters in the shop.
 Geometric illusionsKanizsa TriangleA bright white triangle appears from nothing but three cut-out discs.
 Geometric illusionsCafé Wall IllusionPerfectly parallel rows of tiles that seem to tilt into wedges.
 Brightness illusionsHermann GridGray smudges flicker at the crossings of a black-and-white grid.
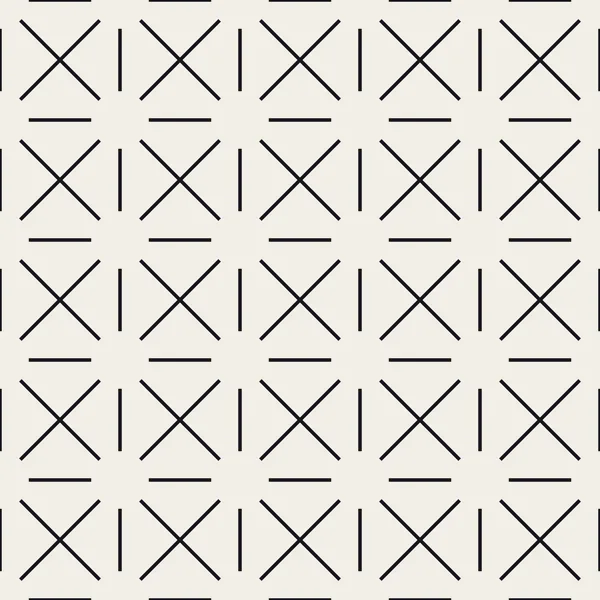 InteractiveBrightness illusionsEhrenstein IllusionGaps in a pattern of lines look like glowing white discs.
Questions and answers
What is the easiest optical illusion to draw?
The 3D bump is the easiest: trace a circle, draw straight lines up to it, and join each pair of ends with an upward curve inside the circle. The Hermann grid is also very simple, because it is just black squares with white gaps.
What do I need to draw optical illusions?
White paper, a pencil, an eraser, a ruler and a black marker are enough for most illusions. Something round to trace, like a cup or a coin, helps with circles.
Why does my drawn illusion not work?
The most common reasons are uneven lines, squares that are not the same size, or low contrast. Redraw it carefully with a ruler and a black marker, and look at it from arm's length.
Can kids draw optical illusions?
Yes. The 3D bump and the floating triangle work well for kids of about seven and up, with an adult helping with the ruler if needed.
Enjoyed this? Get a new illusion every week
One original illusion in your inbox each week, with the science explained in a minute.
Written by the Opticalillusions.com team · Published . Illusion artwork © The Wizard Of Sales, LLC. Spotted an error? Tell us.
More from Learn
 Learn · Guide15 Famous Optical Illusions and the Stories Behind ThemFrom the Necker cube of 1832 to the dress of 2015: the famous illusions everyone should know, who made them and why they work.
 Learn · GuideThe Penrose Triangle and Other Impossible Objects, ExplainedWhy the impossible triangle, cube and fork look solid but could never be built, and how artists fake them in real life.
 Learn · GuideWhy Ambiguous Pictures Flip: The Rabbit-Duck, Rubin Vase and MoreA rabbit or a duck? A vase or two faces? Why two-answer pictures flip, why you never see both, and how to switch on purpose.
 Learn · GuideAfterimage Illusions: Why You See Colors That Aren't ThereStare, look away, and a ghost picture appears in opposite colors. How afterimages work and why they flip red to cyan and blue to yellow.Learn · GuideBlind Spot Test: Find the Hole in Your Vision in One MinuteMake a dot vanish and a broken line repair itself. A one-minute test for the blind spot every eye has, and why you never notice it.
 Learn · Guide9 Easy Optical Illusions You Can Do at HomeA floating finger, a hole in your hand, a rubber pencil and more: nine illusions you can do with things you already have.
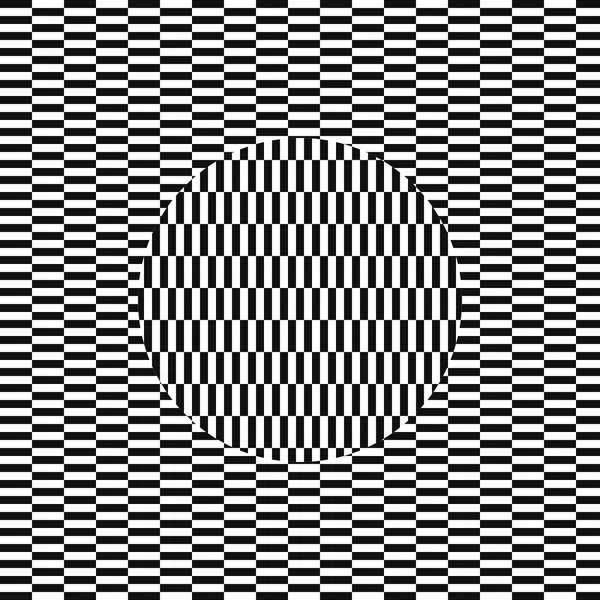 Learn · GuideWhat Is Op Art? Optical Illusion Art ExplainedPaintings that ripple, bulge and buzz: how 1960s op artists used lines, grids and color to trick the eye, and how to make your own.
 Learn · GuideAre Optical Illusions Bad for Your Eyes? Facts and MythsDo illusions hurt your eyes? The facts on eye strain and dizziness, who should take care with flashing patterns, and the viral myths.
 Learn · GuideWhy Do Optical Illusions Work? How Your Brain GuessesSeeing is a best guess. The six shortcuts your brain uses, and the illusions that catch each one, explained in plain words.
 Learn · GuideHow Magic Eye Pictures Work (and How to See Them)The science of hidden 3D pictures, from a 1959 lab experiment to the 1990s craze, plus a step-by-step way to see the shape.
 Learn · GuideWhy Do Still Pictures Seem to Move? Motion Illusions ExplainedDrifting snakes, wobbling checks and spinning rings: how your eye movements and motion cells turn flat pictures into motion.Learn · GuideOptical Illusion Science Fair Projects: 8 Ideas That WorkEight testable project ideas, from measuring the Müller-Lyer illusion to timing afterimages, with tips on fair tests and fair rules.Learn · GuideTypes of Optical Illusions, Explained (With Examples)Literal, physiological and cognitive illusions, plus motion, color, geometric, ambiguous, impossible and afterimage illusions, with an example of each.
 Learn · GuideWhy Colors Trick Your Eyes: The Science of Color IllusionsColor constancy, simultaneous contrast, the Munker illusion and afterimages: how your brain builds color, and why it sometimes gets it wrong.
 Learn · GuideThe Dress: Why Everyone Saw It DifferentlyBlue and black or white and gold? The 2015 photo, the lighting assumptions behind it and what scientists found when they studied it.